prime’s Guide to Zero Week: DIY dorm decor for $10 or less

By Alexandra Tashman
Sept. 30, 2014 9:18 a.m.
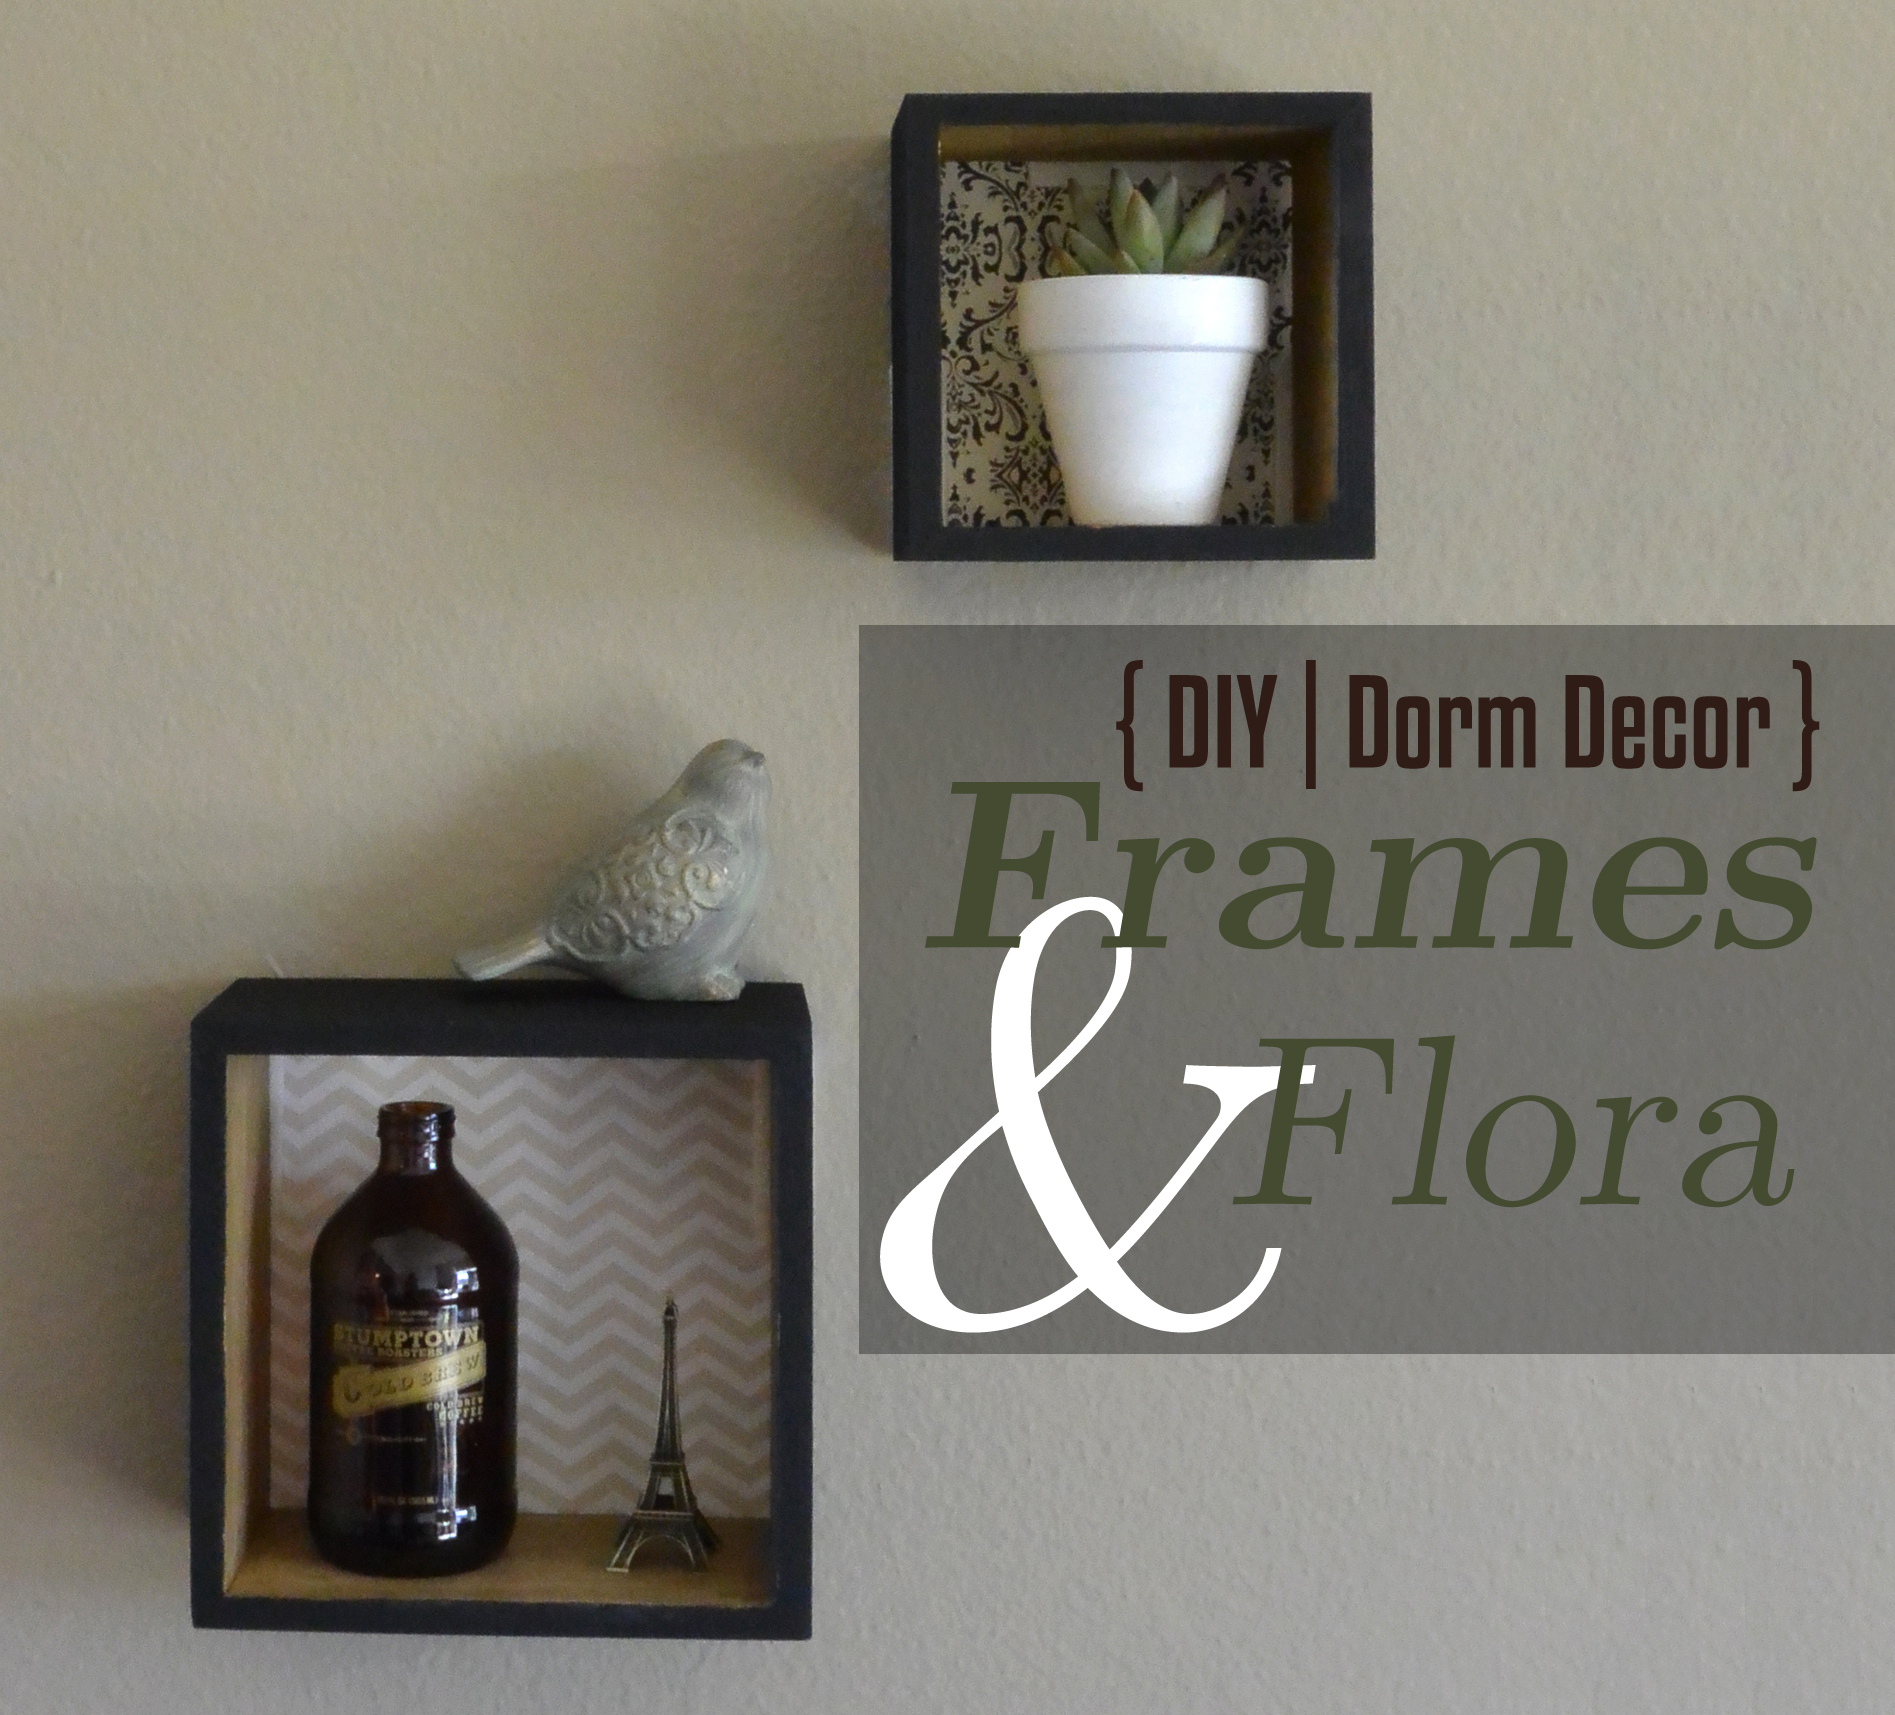
Whether you’re in a dorm or an apartment, your living space can always use some sprucing up. Here are two do-it-yourself guides to help brighten up even the darkest corner of your home. While shelves are a functional way to show off tchotchkes, they’re also great for adding a little of bit of green into your life. Below, you’ll find prime’s guides to decorating shelves and potting easy-to-care-for succulents.
Successful shelving
Essentials:
Two square shelves
Two bottles of paint (choose whichever colors you like, one for the outside and one for the inside)
Paintbrushes of various sizes
A cup of water
Printed paper
Tape
Scissors
Newspaper (to protect your furniture from paint)
Optional: Choose between pushpins, nails or wall adhesive strips to mount the shelves.
Instructions:
Step 1: Squeeze some paint onto a palette of your choosing.
Step 2: Paint three sides of the outside of your shelves one color, then let them dry with the unpainted side on the newspaper.
Step 3: Once all the painted sides are dry, paint the single unpainted side. Allow it to dry.
Step 4: Repeat steps 2 and 3 for a second coat.
Step 5: Squeeze your second paint color onto the newspaper.
Step 6: Paint the inside of the shelves and let them dry. Repeat for a second coat.
Step 7: Take a small paintbrush and clean up the edges, making sure that the paint colors stay separate.
Step 8 (optional): Lay your dry shelves on a piece of printed paper, and cut a piece the same size as the back of your shelves. Tape the paper to the back of the shelves.
Step 9: Hang your new shelves on the wall. Ta-da!
Tips: All of the supplies for this DIY can be found at Michaels arts and crafts stores and cost a total of $10. The closest Michaels location to campus can be found at the corner of Beloit Avenue and West Olympic Boulevard.
A little bit of greenery:
Essentials:
One small clay planter
One small clay plate for the planter’s base
One small succulent plant or cactus
Potting soil
One bottle of paint
An assortment of paintbrushes
A cup of water
Newspaper (to protect your furniture from paint)
Step 1: Put paint on the palette of your choosing.
Step 2: Paint the clay planter any color. Make sure to paint both the inside and the outside. Repeat as many times as necessary in order to get a thick, even coat.
Step 3: Paint the clay plate to match.
Step 4: Leave the planter and plate to dry.
Step 5: Once dry, fill the planter about halfway with potting soil.
Step 6: Place the small succulent or cactus into the planter, and break up its soil slightly, mixing it in with the already loose soil.
Step 7: Add more soil, until the space around the plant is full.
Step 8: Water regularly but not too often, as these types of plants require minimal attention.
Tips: The total cost for this project is $8. The planter, plate, plant and soil can all be found at local nurseries. There are several on Sawtelle Boulevard, near Westwood. The paint supplies can be found at Michaels.


